What are Expenses?
All paid-for transactions are expenses and will require an expense entry. However, if your transaction can be paid at a later date, this should be entered as a bill. Expenses are typically historical payments that have already been made.
In this article, we will cover the following:
Viewing Expenses
1. In the left menu, navigate to Purchases (A/P). Then go to the Expenses section. This takes you to the Expenses page.

2. For each expense, you can view the following:
- Expense Date
- Expense Account
- Vendor Name
- Paid Through
- Account
Creating Expenses
1. In the left menu, navigate to Purchases (A/P). Then go to the Expenses section. This takes you to the Expenses page.
2. Click on Create in the upper right corner.

3. This takes you to the Create Expense page, where you can enter the following:

- The Date of the expense
- The Account where the transaction will debited
- Vendor name, where the expense was made
- Paid through the card or bank account that was used to pay for the transaction
- Notes, if applicable
-
You can enable the Apply Credit toggle to apply any credits
- Enabling the toggle, opens the Items section
- Add the Description, Quantity, and Rate of the Product you are applying the credit for
4. Once all that is filled out, click the Create button at the bottom to finish creating the expense.
Editing Expenses
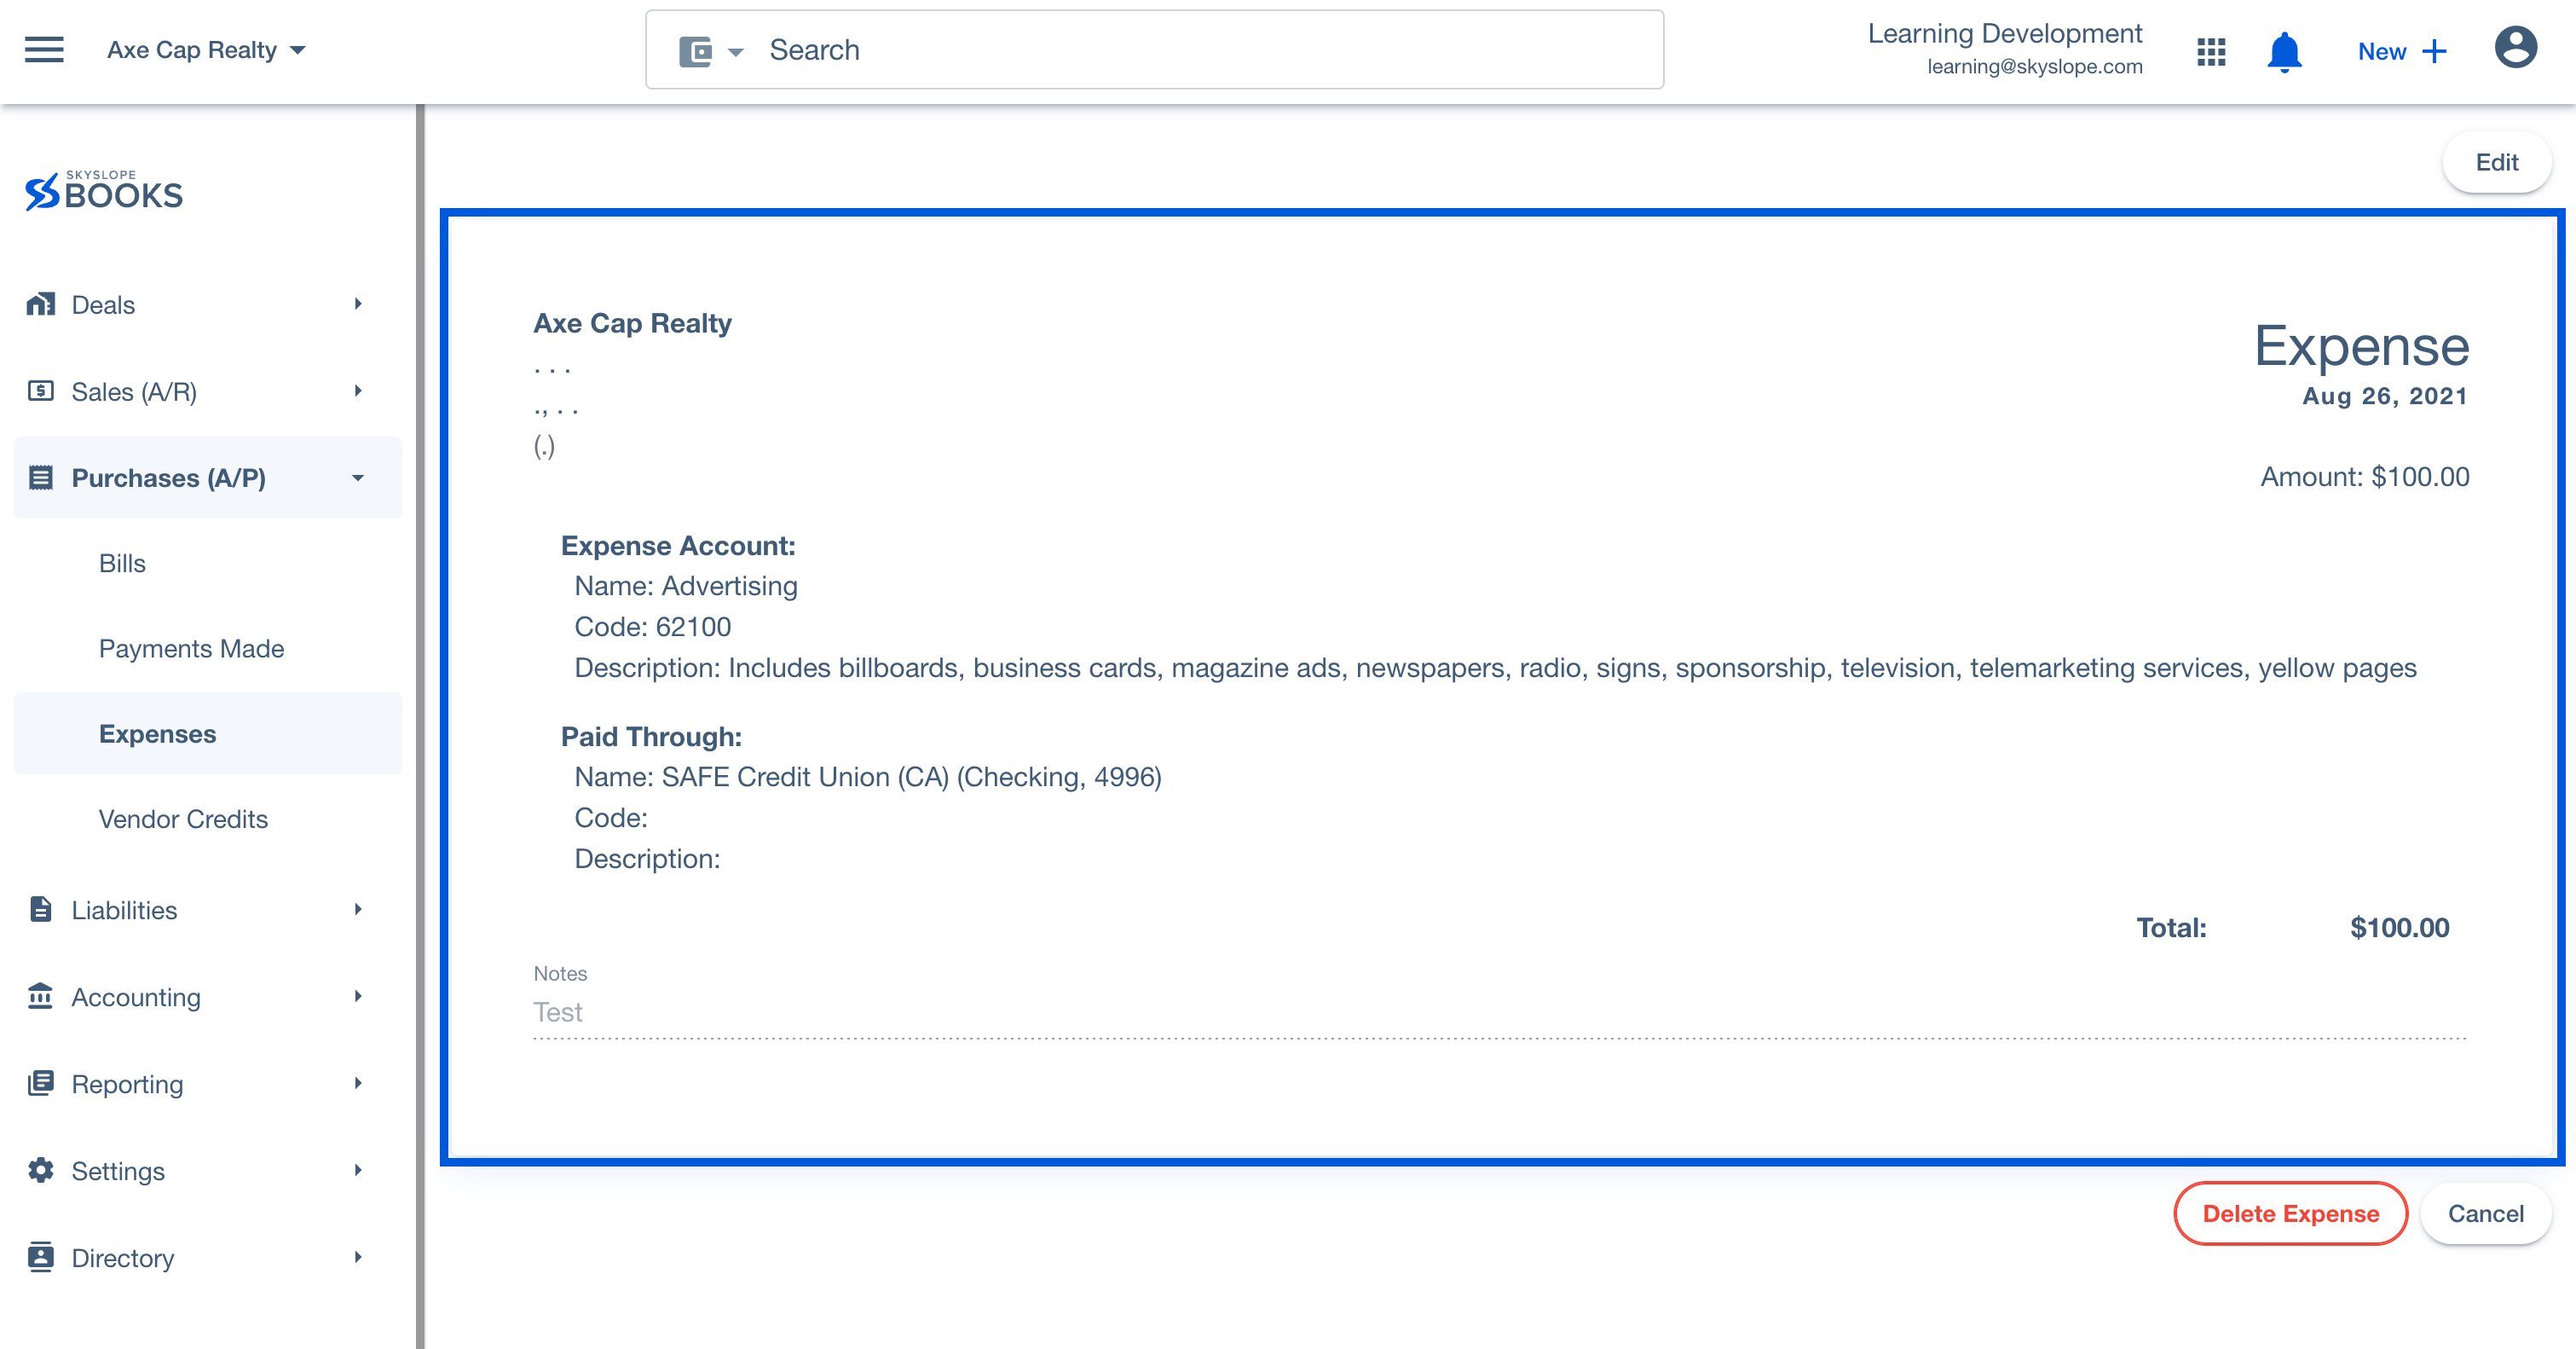
1. In the left menu, navigate to Purchases (A/P). Then go to the Expenses section. From here, click on an Expense to open it and view its details.
2. In the upper right corner, click Edit.
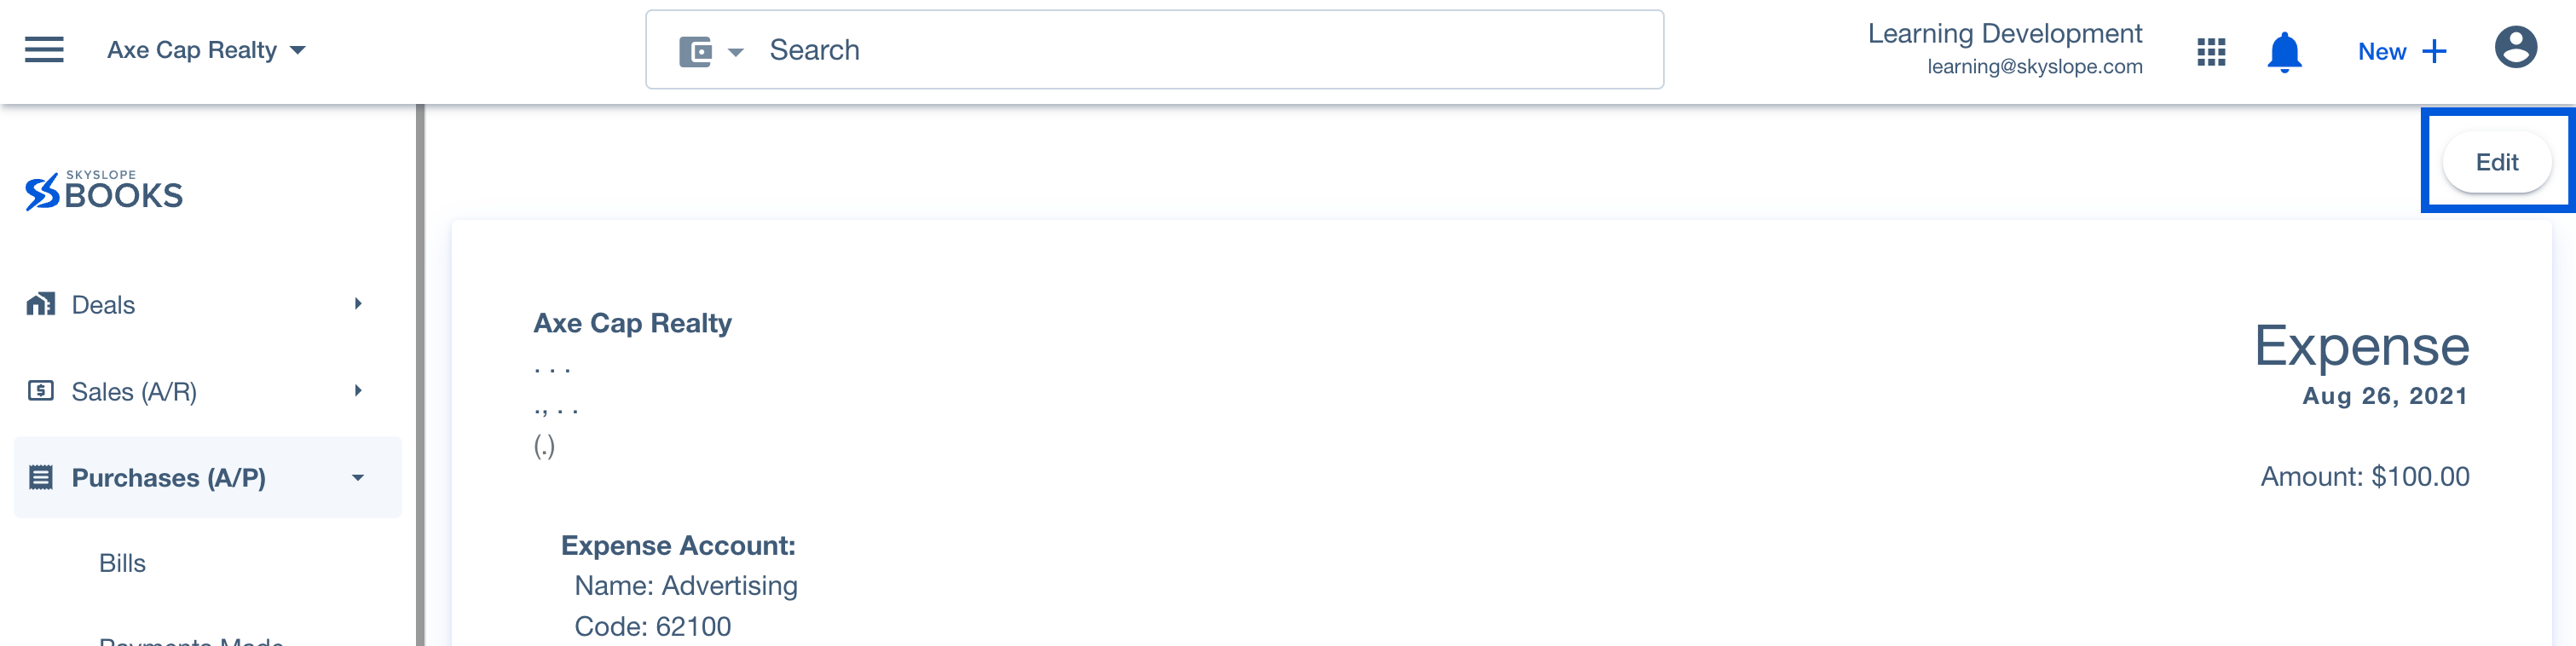
3. This opens the Edit Expense page.

4. You can change the following:
-
- Date
- Expense Account
- Amount
- Vendor Name
- Paid Through
5. Once you make your changes, click Save at the bottom right to update the expense.
Deleting Expenses
1. Follow steps 1 through 3 above, under Editing Expenses.
2. When you arrive on the Edit Expense page, click the red Delete button.

3. On successfully deleting an expense, you will see a success message at the bottom of your screen.
Was this article helpful?
That’s Great!
Thank you for your feedback
Sorry! We couldn't be helpful
Thank you for your feedback
Feedback sent
We appreciate your effort and will try to fix the article
<\br>